Leather Wallet

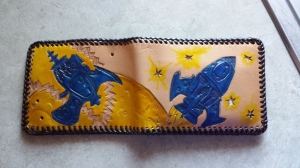
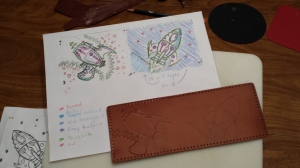
I made a leather wallet for my hubby!  He used a toy ray gun as inspiration and drew a couple images that I transferred to the leather.

2014-08-16-20-56-27

I found out later that I was doing this wrong, but it worked for what I was doing right now.

2014-08-16-20-56-32

I wish I had read more about diluting they dye, but too late now!!

2014-10-04-11-24-25

I guess he gets lots of comments and compliments, so that works.  My favorite is the moon with it’s craters. I do wish the dyes weren’t $8 each, I might have gotten one more, but I couldn’t see spendig that for just a couple touches of color.

2014-10-04-11-24-38

diapers.jpg

Flash diffuser

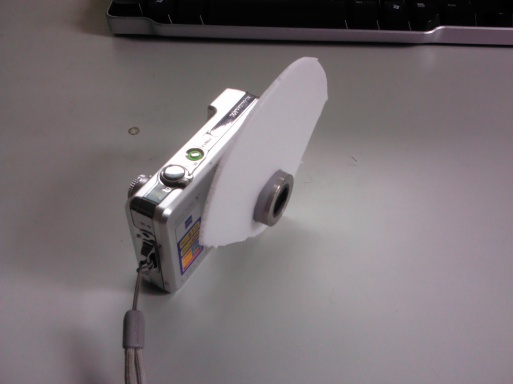
I saw on Pinterest someone had used Styrofoam bowls as diffusers on their camera. So, after a meal with Styrofoam  take out boxes, I made one for my little Sony.

Drew around the lens onto scrap paper, cut out a hole:

DSC04690

Testing the scrap on the lens – looks good:

2013-03-14 13.09.07


Transfer hoe to Styrofoam:

DSC04694

Cut that out and tested on camera:

2013-03-14 13.14.40

Random photo with no diffuser:

DSC04699

Diffuser cut out and on camera:

2013-03-14 13.18.22

Random photo with diffuser:

DSC04698

Now, to try it on people!!

Spinning lamp attempt

I wanted one of those lamps that spin around and cast light against the wall (like the lantern in Sleepy Hollow), but I didn’t like anything I saw online so I decided to make my own.

Bought a lamp at Goodwill:

2012-08-23 10.46.56

Took it apart:

2012-08-23 10.52.12

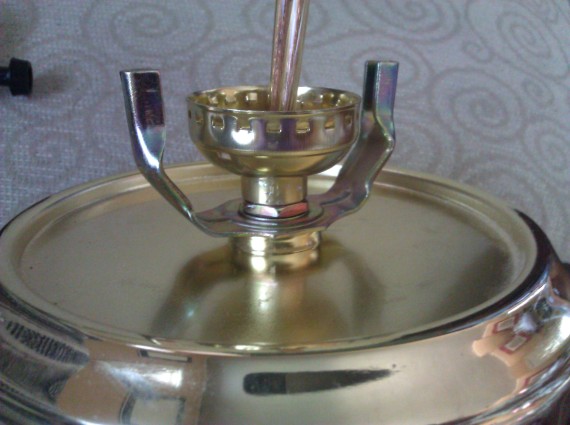
Put it back together with the light directly against the base:

2012-08-24 13.51.32Made a top with vents to allow for spinning:

First try-

DSC04468

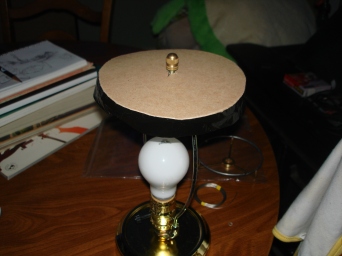
Second try, which worked (this photo does not have the vents cut).  I also found that I couldn’t screw it down like one might do with a normal lamp shade. Instead, I taped a thumb tack to the vent and balanced the pin tip on the lampshade post-

DSC04472


Made a shade out of foamie. I thought paper would be too flammable and any metal would get too hot and burn little fingers-

DSC04550DSC04551DSC04552


This turned out to also be a poor choice – the foamie got hot, soft, and smelly with in seconds of the light being turned on, it was too heavy for the spinning action to happen, and light did not show on the walls in clear shapes (the rocket was too big and the bottom needed to be enclosed).

And, by now I have gotten tired and bored with this project, so it’s going to Goodwill!


Notebook covers

I needed to prettify some notebooks so I used some fabric and sewed them up. I did not use a pattern, but I used the notebook to fit it.

1) Tear strips of 45″ wide fabric the height of the note book plus two to three inches.
2) Fold the salvage edge to the wrong side of the fabric and stitch down.

image

3) Use the notebook and wrap the fabric around it how you’d like it to fit, pin. If you’re using a binder withe the rings on the center, wrap your fabric wrong side out so your pins are where they need to be to just sew them together. If your rings are on the back of the binder, wrap with your fabric right side out, pin, and then mark the pins so you can take them out and turn the fabric to wrong sides together and pin again.
image

4) Clip the center panel seam allowance nearly to the stitch line.
image

5) Sew your seam, folding the center clipped seam allowance to the wrong side.
image

6) Clip corners, turn to right side, top stitch as close to seam as possible.
image

7) Turn wrong side out and cut the seam allowance as close to seam as possible.
8) Repeat steps 3 – 7 with bottom.

To add a vinyl label pocket:
1) Cut vinyl. Be sure to allow 1/4 inch on three sides for stitching.
2) Measure or use a template and measure up from the bottom to place your vinyl.
3) Use painters tape to tape three sides down on fabric. I taped it down while on the notebook because I thought it was easier and more accurate. Remove the cover from the notebook again.
image

4) Tape along the edge of the vinyl the side you are stitching so the presser foot will not stick. Alternatively, tape the bottom of the presser foot! (Hindsight is great!)
5) Stitch, being careful to not sew through both layers of your cover. I used an invisible hem stitch. As you turn each corner, pause to reposition the tape to just the edge of the vinyl (or remove completely if you taped your presser foot).
6) Pull thread ends to back, tie off, and clip.
7) Put your cover on your notebook!

Check out the finished notebooks here!

UPDATE: Only use the vinyl along the spine – it sticks to itself on the bookshelf or in stacks and makes it a pain putting them back on the shelf!
Robin’s bird mobile

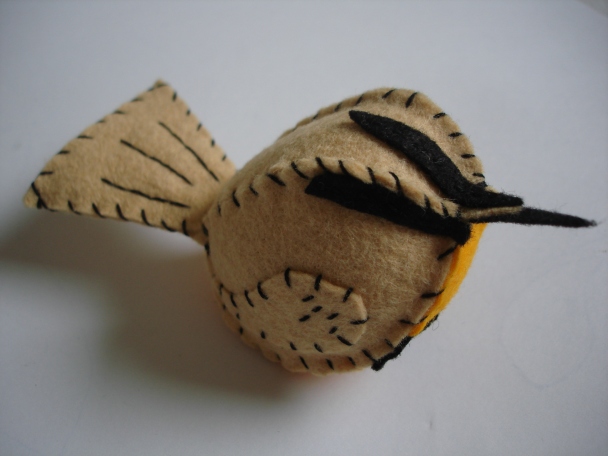
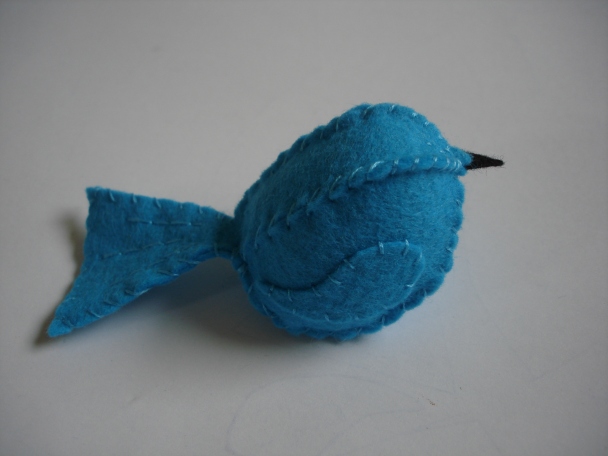
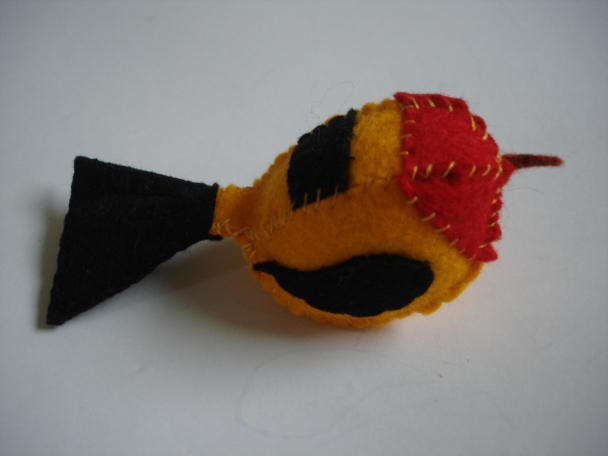
I started this while Robin was in the hospital.  With a few tweeks, I made these based on local native birds.  Here are some photos!

Image

Western Robin

Image

Western Meadowloark

Image

Red Wing Blackbird

Image

Western Blue Bird

Image

Western Tanager

Image

Dark Eyed Junko

Image

Black Caped Chickadee

Image

All for size comparison.  While they aren’t true-to-life size, they are sized relatively.

I’m having the pattern tested now and hope to have it available in my etsy store soon!

Google conundrum

Google used to be such a great package.  I am not as happy with it anymore, though – especially since they are tying everything (specifically Picasa Web) into Google +.

I have met my photo data limit and, if I want to add any more pictures without paying their monthly fee, I need to delete some photos. But some of those albums have copious notes with the photos. A brief search reveals no solutions to this.  :/

I guess I can copy each comment caption to a text file and put it in the folder with the photos, but sheesh … it took lots of time to put those comments in in the first place, so that’s even more work now.

And on top of that, I get a warning that some of the photos are linked to a blog (mainly this one) and they will no longer show up in that blog now that they are deleted. Although those changes won’t show up for 24 hours.  I’m sure it’s very much true if those images were used on a Google Site (which is where my Epic Summer Cross Country Train Trip notes are) … so here’s the flip side to the benefits of such an integrated system. :/

UPDATE: Yup … the photos no longer link up in my posts here.  So there’s another time sink …  Blerg.

Quick tablet post

Previous posts have explored my penchant for technological fiddling.  Tonight I am simultaneously testing two new apps for my Acer Iconia tablet: the wordpress app and a typing app called Float and Split Tablet Keyboard.

Float and Split Tablet Keyboard
Since I hated the default qwerty keyboard, I decided to play with the 3rd party apps available, but first I had to recognize what I didn’t like about the default. 1) to type effectively I needed a place to set the tablet down or pick with one finger, 2) I felt switching to the symbol keyboard was awkward, 3) it took up too much space.

image

I found this app that has a variety of keyboard settings. At first, I really liked the two, separated split keyboards that floated over what I was working on, but after a while I’ve drifted to the stationary split keyboard with the number pad in the middle.  So far this is improving my journaling experience.

WordPress app
So far straightforward and a bit easier to type and edit in than the desktop version. I haven’t posted any photos yet, so here goes!es!

image

Robin

Picking a photo from the gallery was easy,  but trying to go and insert a break after the text is a pain. You think you’ve put you’re cursor where the break will go, hit enter, and the break happens somewhere else. Trying to go back and delete out characters trying to fix it, is difficult without possibly deleting the photo.  Horizontal alignment doesn’t appear to do anything while you’re composing. Going back and putting the photo online after the fact is much easier! I haven’t found a way to wrap text around photos yet… And now I’m going to insert a photo taken right now…

image

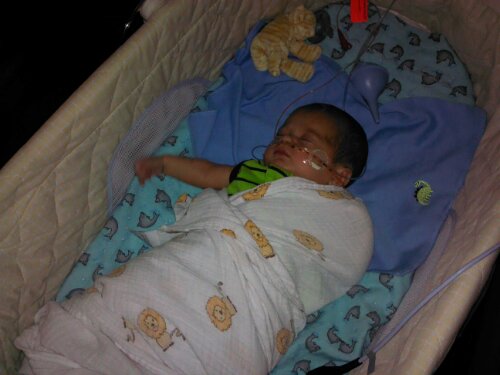
Awww… sleeping baby..  So, that seemed to work well! And now its time to get ready for his 6am meal!

Editing after publishing is easier than new entry or on the desktop! Mostly. Because the photos are just the html tag, so its easier to work around or with them! Sweet!

Robin’s mobile

With Robin in the NICU, I needed something to do with my hands. And, since he was going to spend a lot of time in bed, I decided to make him a mobile to look at. I looked for ideas and developed my own pattern for the bird bodies, then I looked at photos of real native birds and simplified them. Right now they are taped on ugly sticks, but when we go home I’ll put them on some cantilevered branches. Here is one of the birds (the Western Meadowlark):

Brief update!

Since my Epic Summer Cross Country Train Trip, I have finished a few projects – the two most important being my wedding and delivering our baby via c-section.  Here is a quick photo survey of some of the other projects:

2011 Time Travelers Ball Figurehead decoration (pre-paint)